My Koi Pond
English
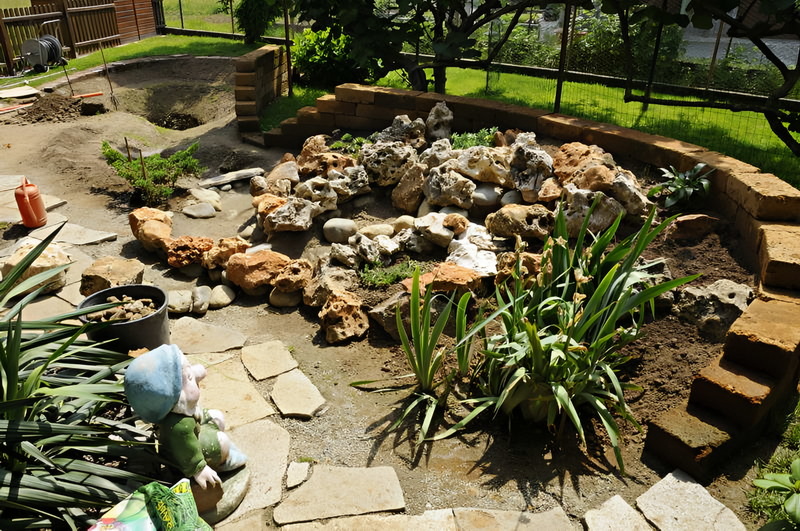
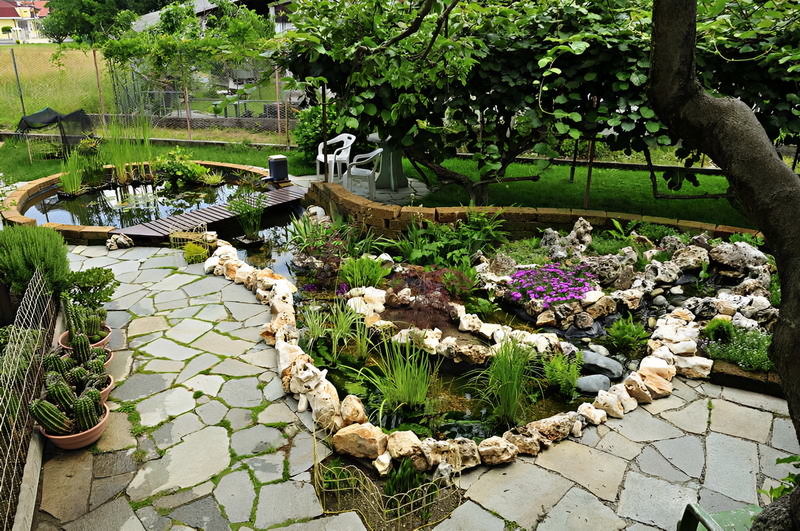
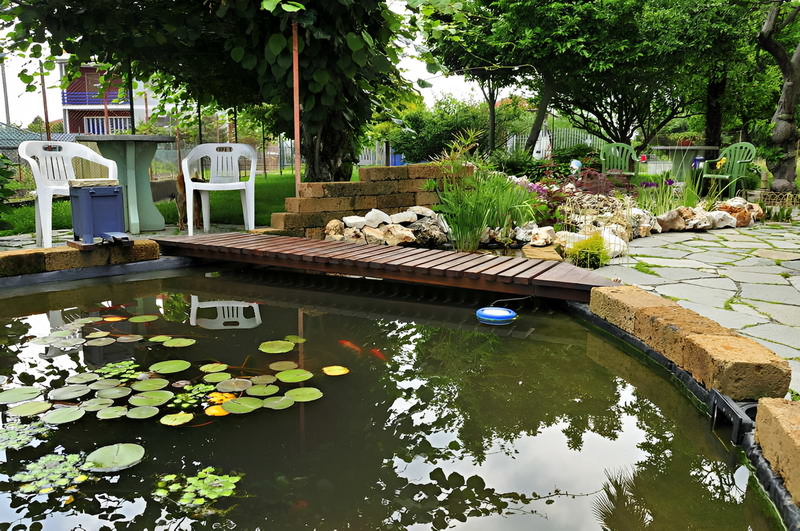
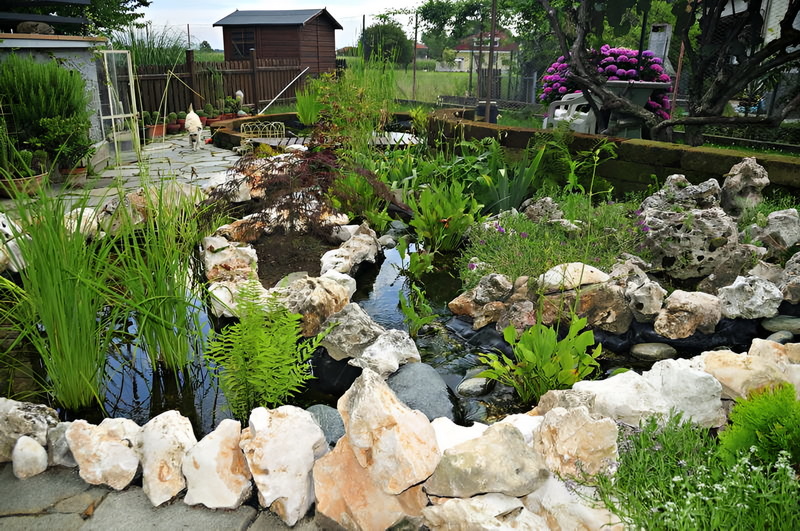
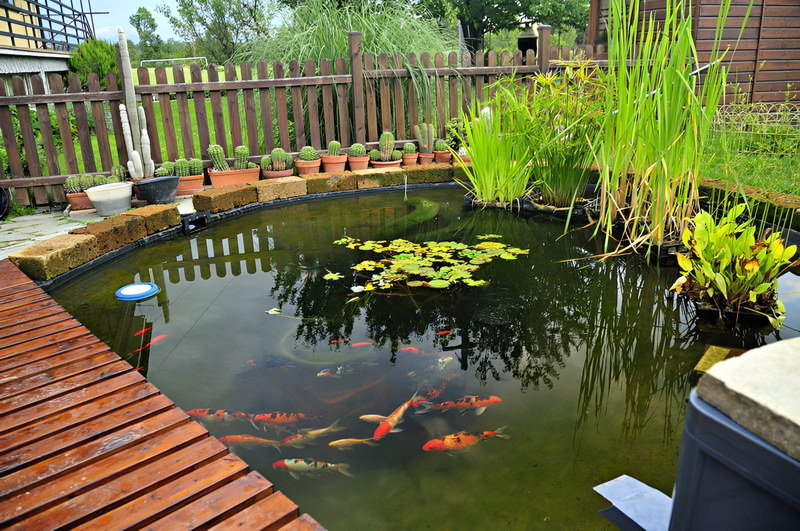
After you have had the passion of aquarium fresh water first, and then Reef Aquarium for many years, in 2006, can also cause problems with the glue of my tank of 500 liters, in practice I had to replace it and the fact that the passion for Reef Aquarium and last but not least the financial commitment to maintain this type of aquarium, can I have preferred, however, terminate this interesting hobby, after three years of break, with the desire to orient the pond for Koi carp, the space in the garden there was and after having studied and carefully evaluated the situation and the costs to deal with, after hours of surfing the internet to deepen the topic, I start with the project involves a large pool of approximately 6000 liters more capacity to build a garden where rock fall from the highest point snaking small river water that enters the lake itself, I start with the choice of the place, the choice of the area of technical accessories available filters, UV lamp, circulation pump, control box, pump of air, etc.. (The area is under the first balcony of the house located to the south, enclosed by windows that originally served as a flower girl in winter).
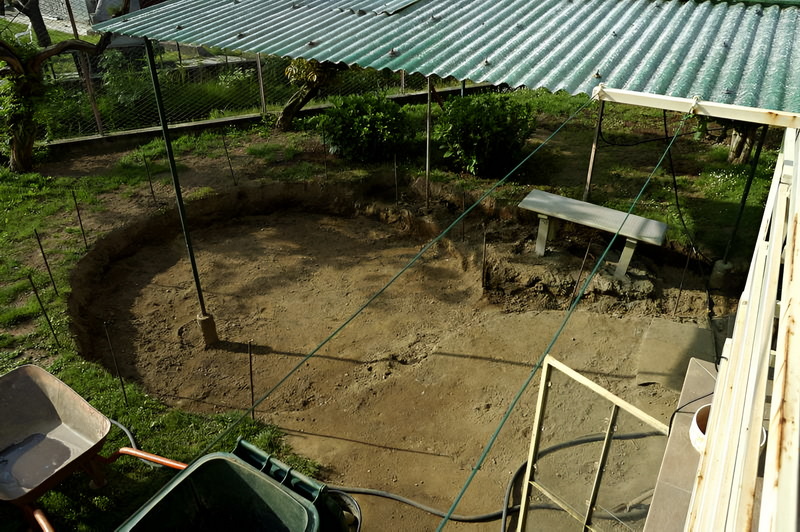
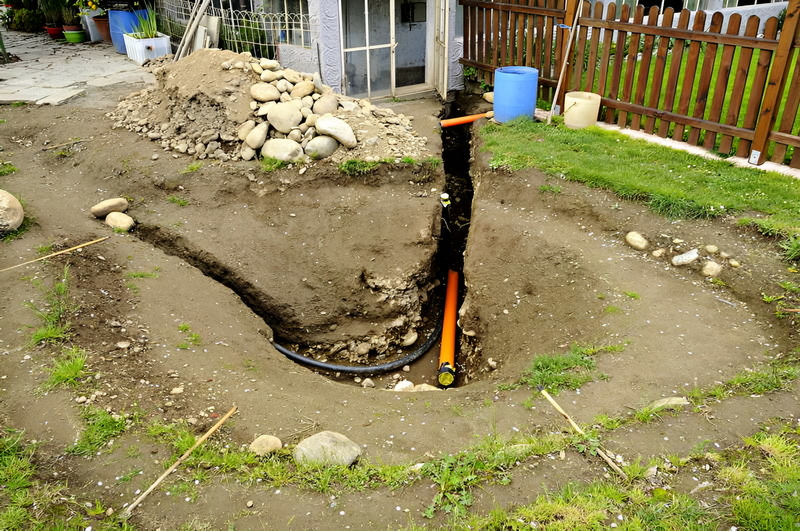
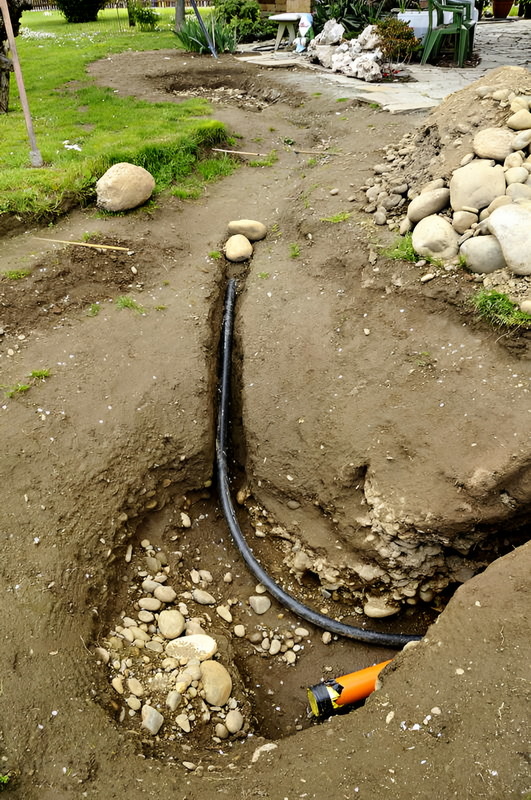
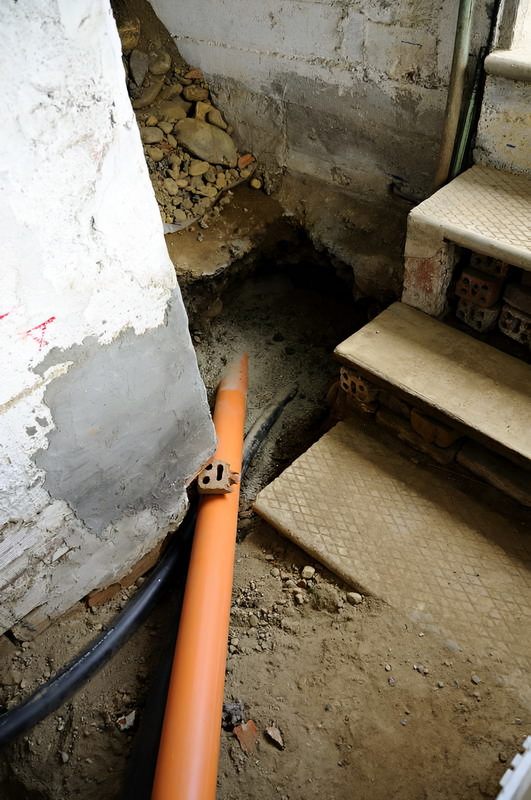
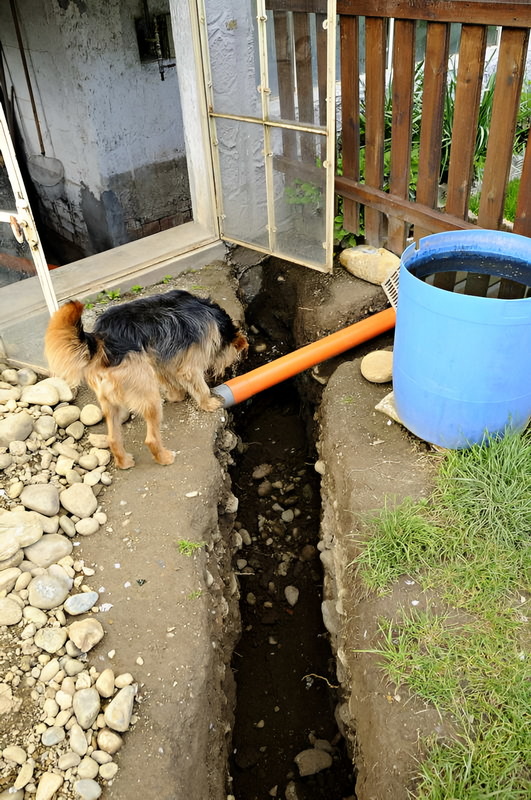
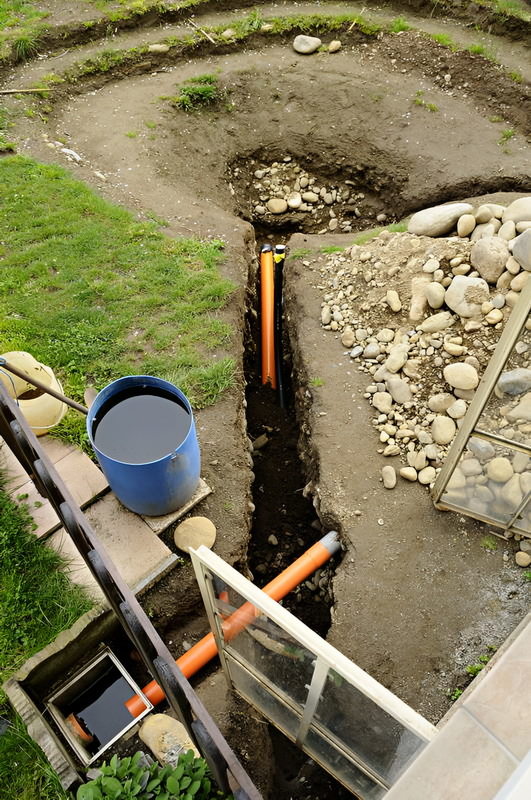
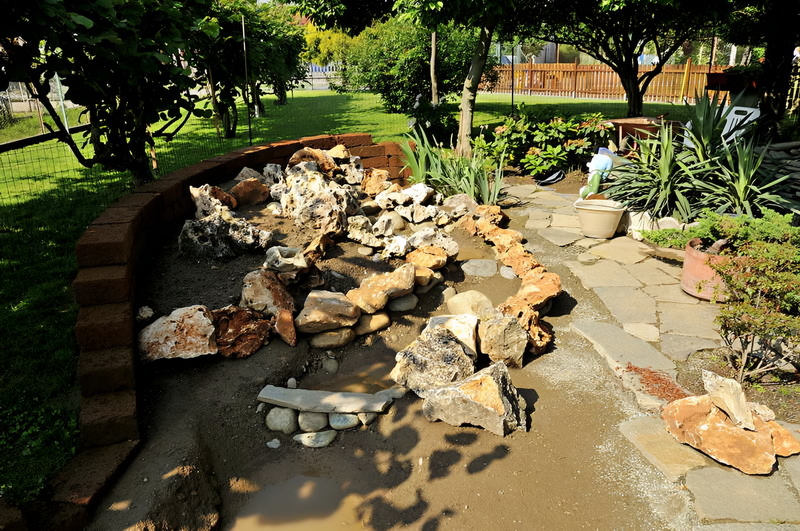
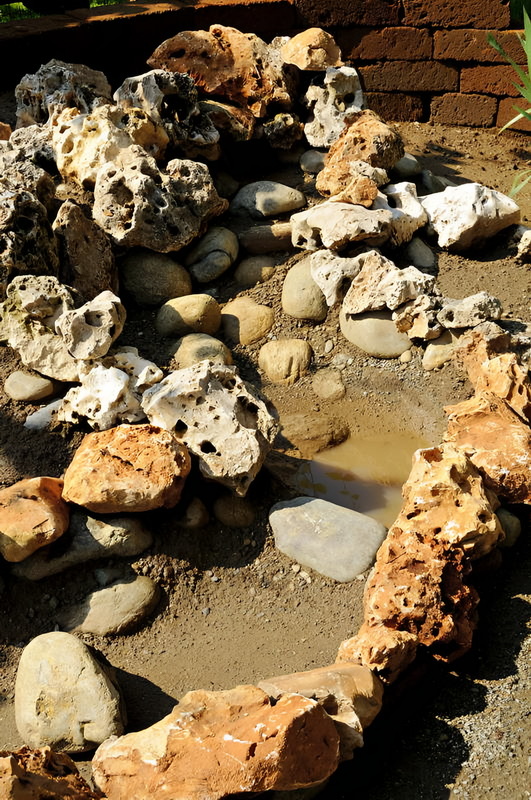
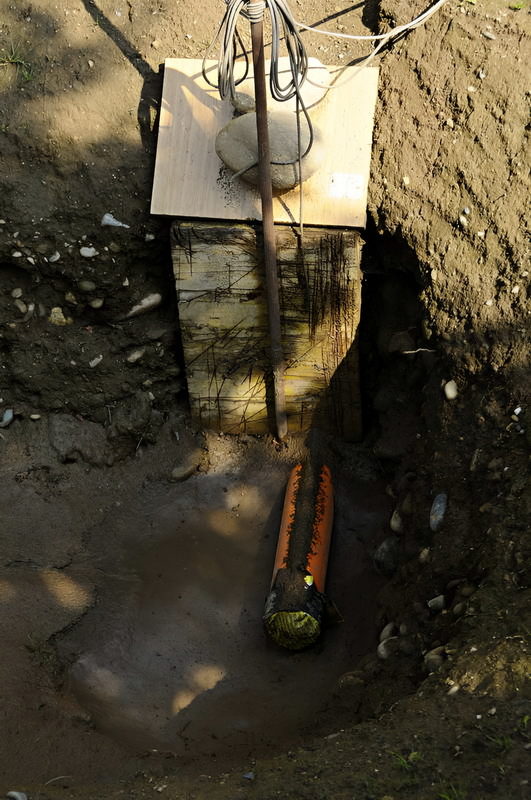
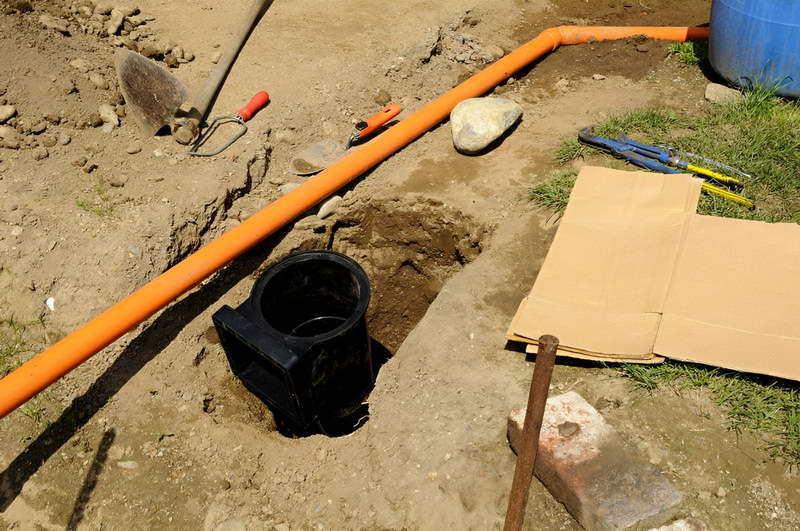
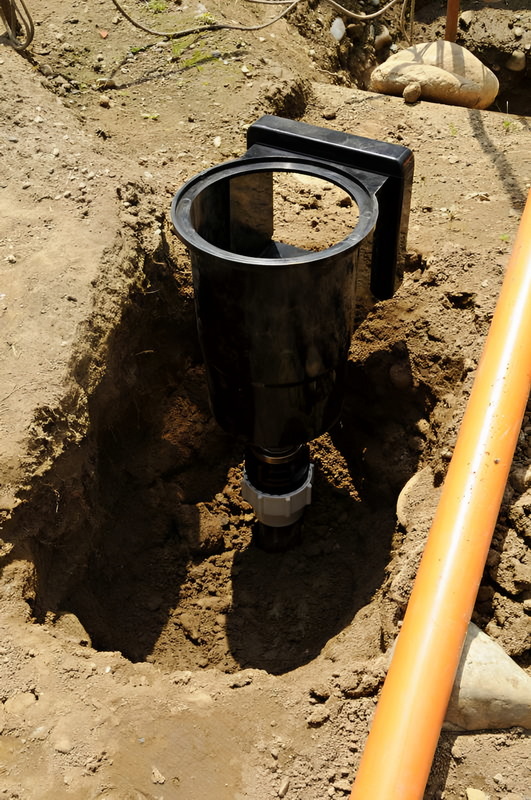
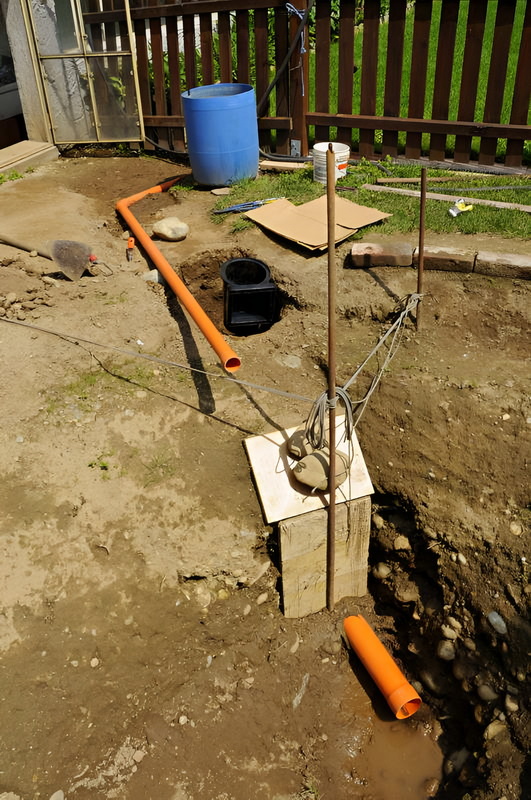
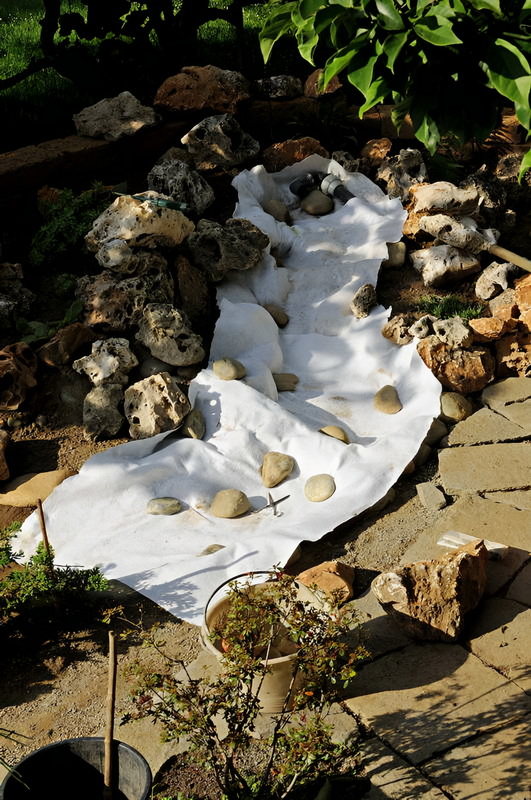
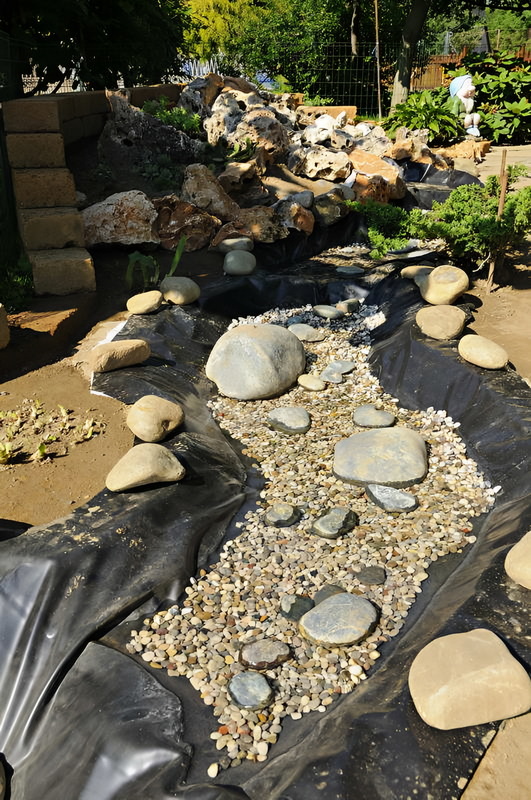
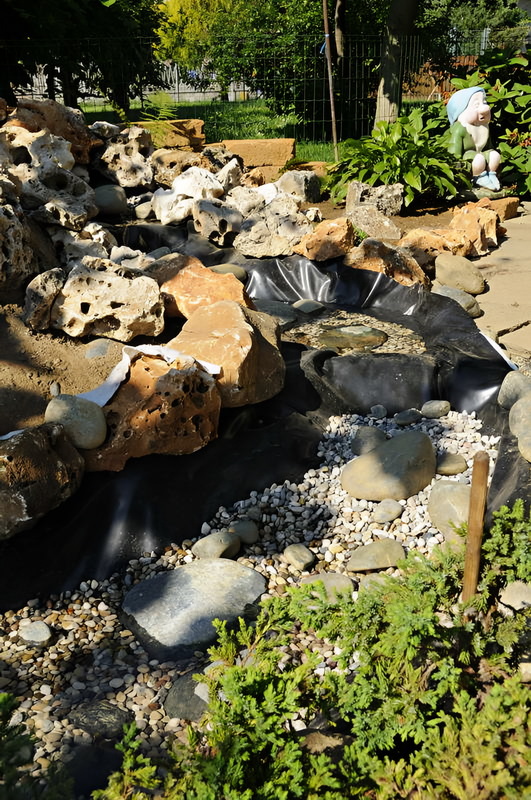
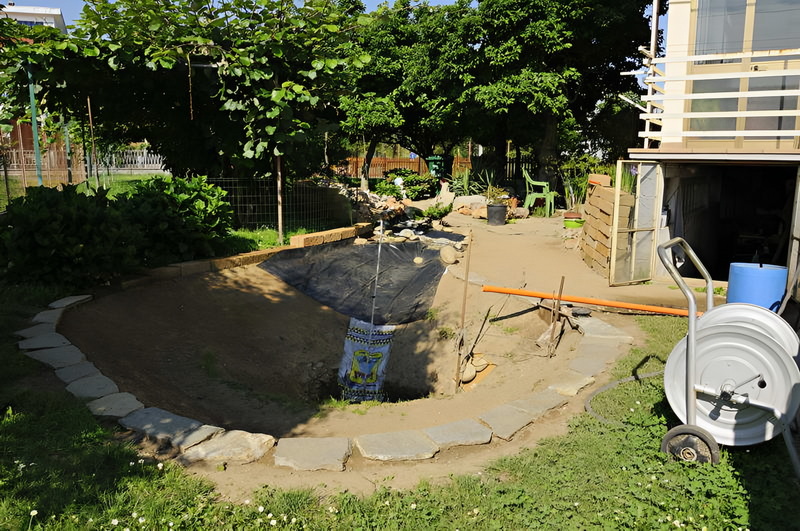
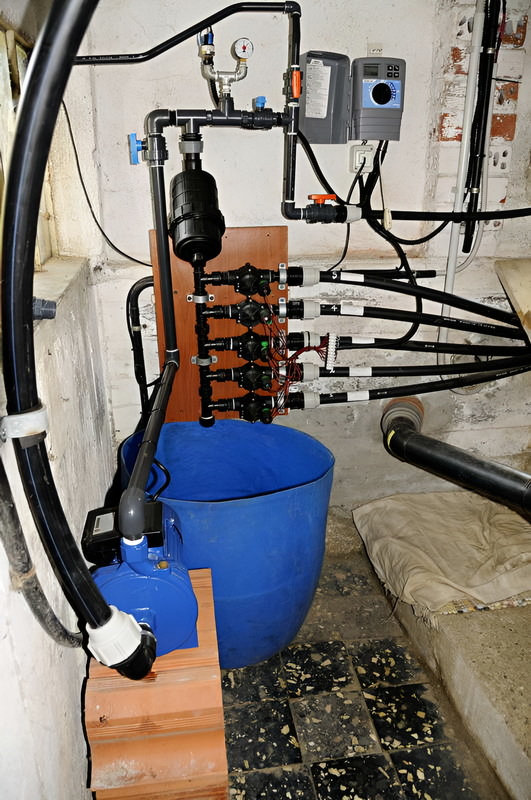
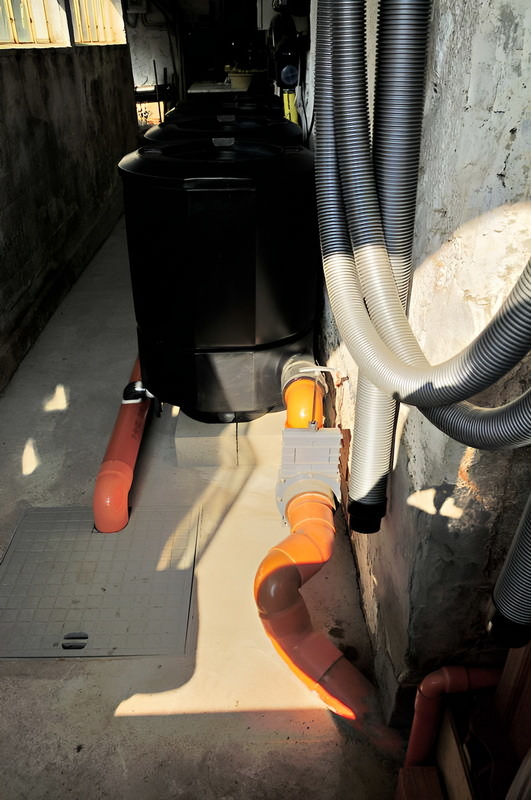
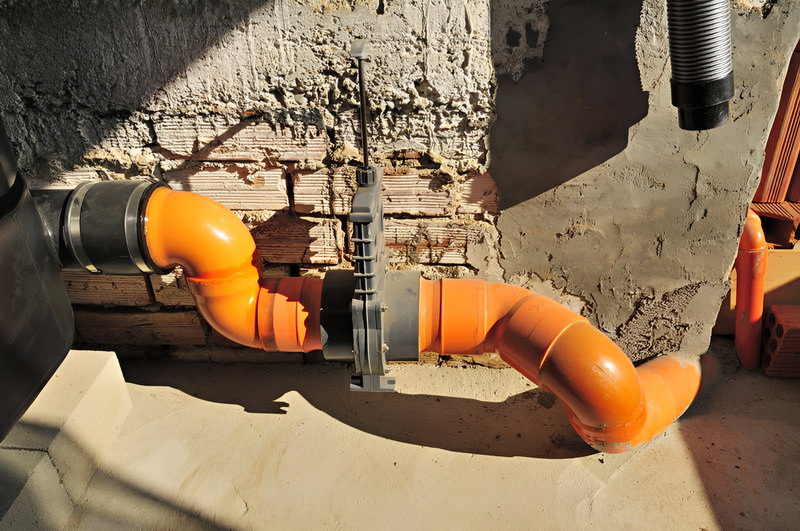
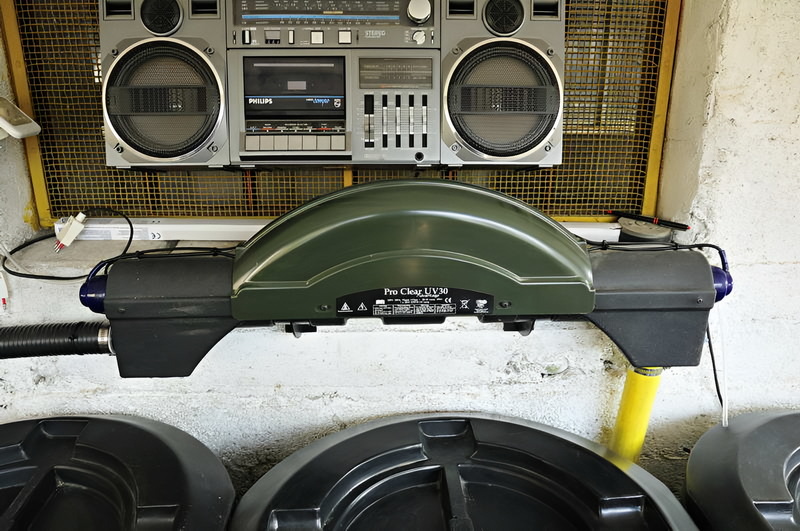
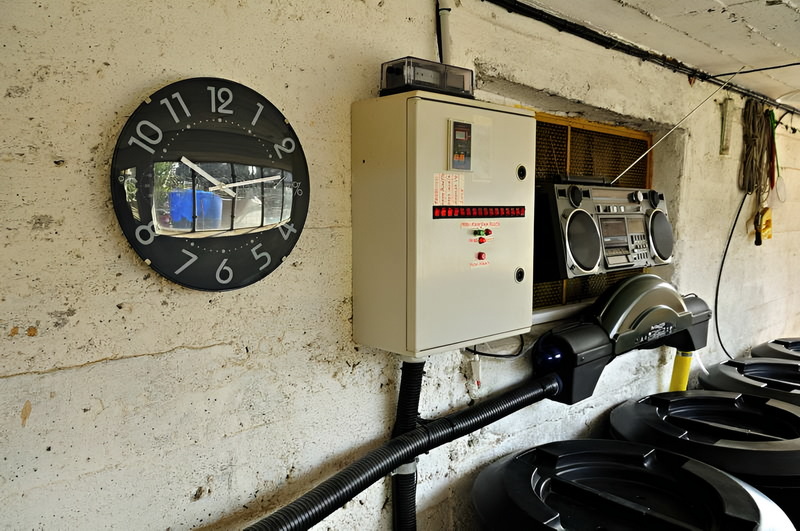
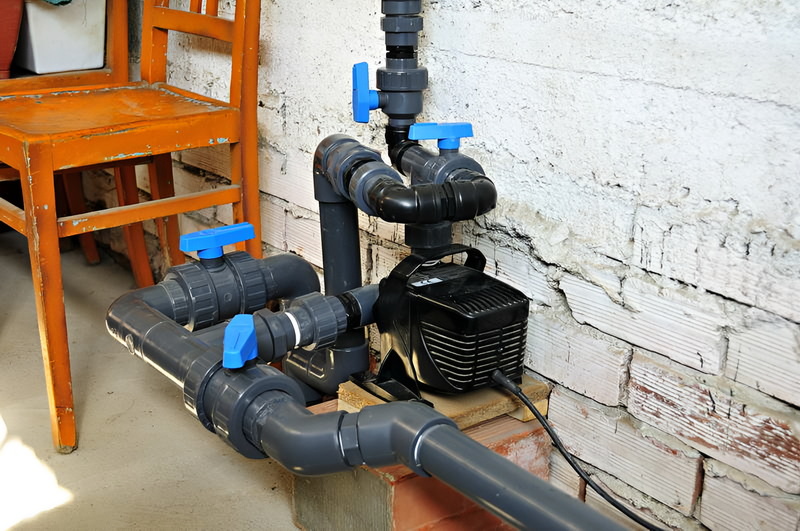
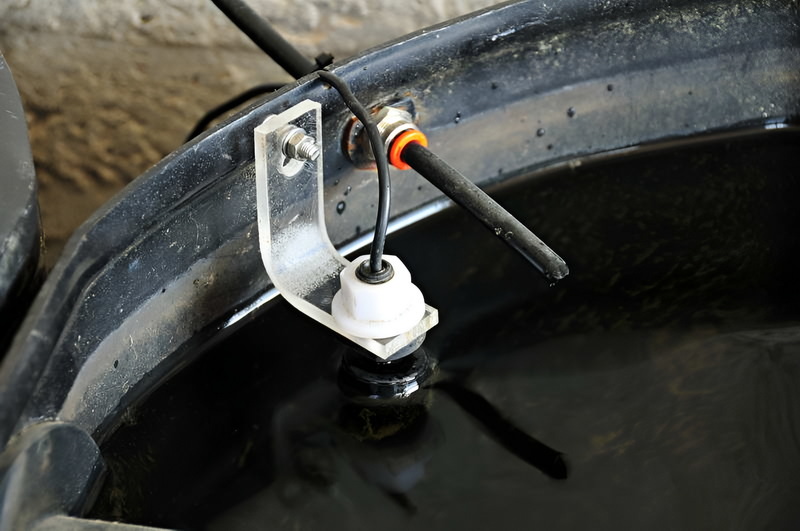
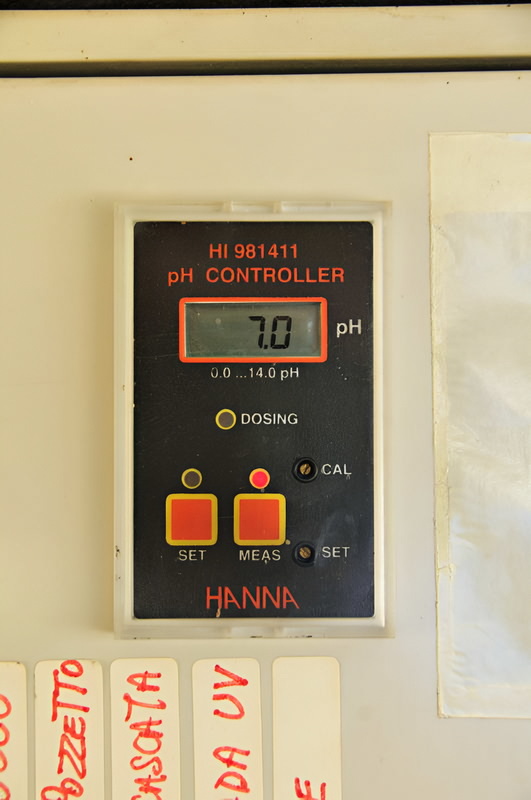
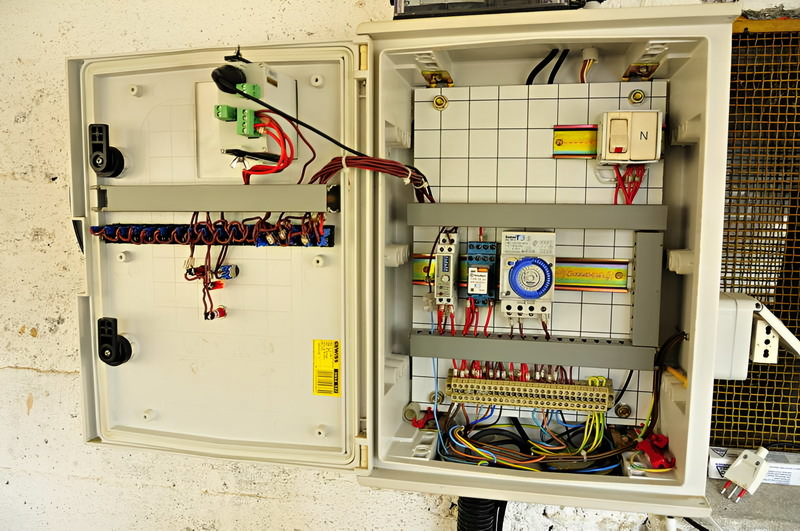
In Autumn of 2008 I start with the excavation, resume after winter break with new vigor in the spring of 2009, this is a quite challenging work, having no experience with this, but I do my best, work is progressing with the excavation of hole (with a sore back), creating the shape of the waterfall and rock garden, with the laying of pipes and all inside of the compartment area filters with the arrangement of all the technical parts, driven by an electric panel that allows me to control power of the circulation pump, the adjustment in hours of UV lamp, a system of automatic refilling of water evaporated, an automatic exchange part of the water of the pond with doses adjusted to taste, all of my creativity and self-made.
I conclude this presentation by saying two things about taking pictures, unfortunately, can I have lost a series of photos taken at the time of preparation of the PVC sheet and insertion of the drain to the bottom, because my carelessness in the format the memory card in the camera.
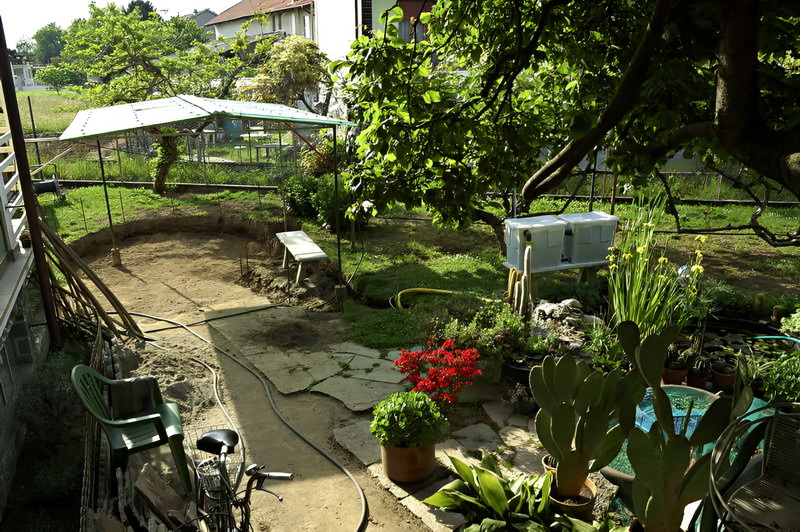
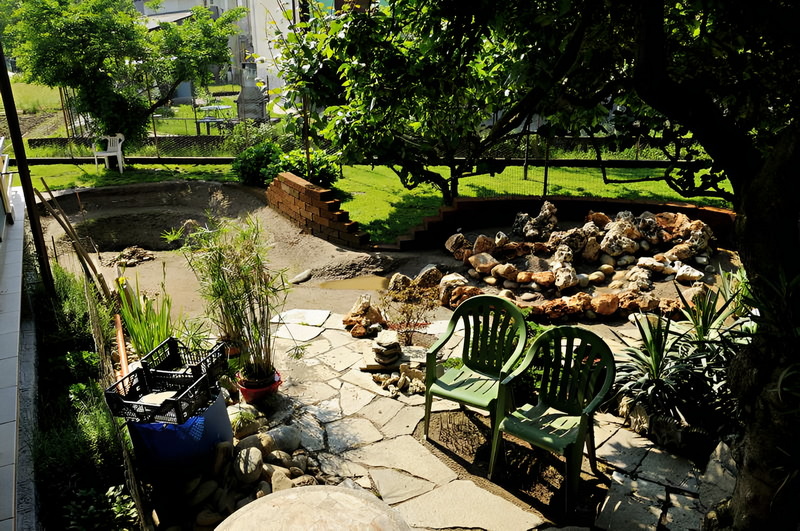
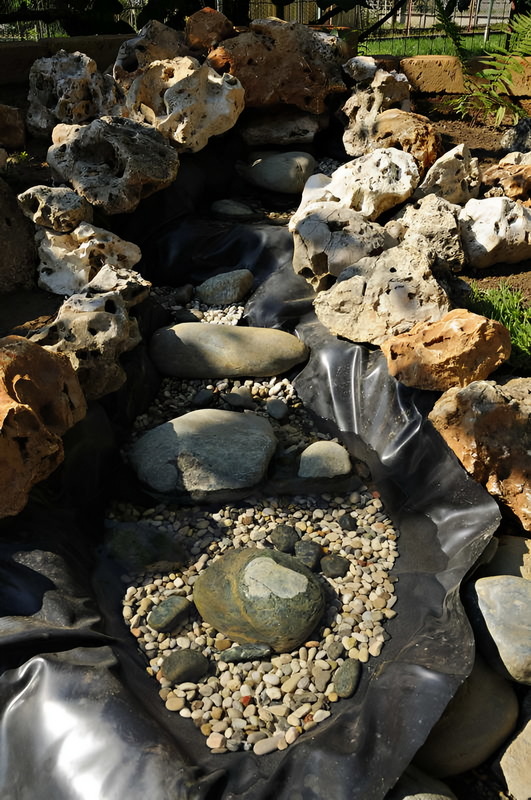
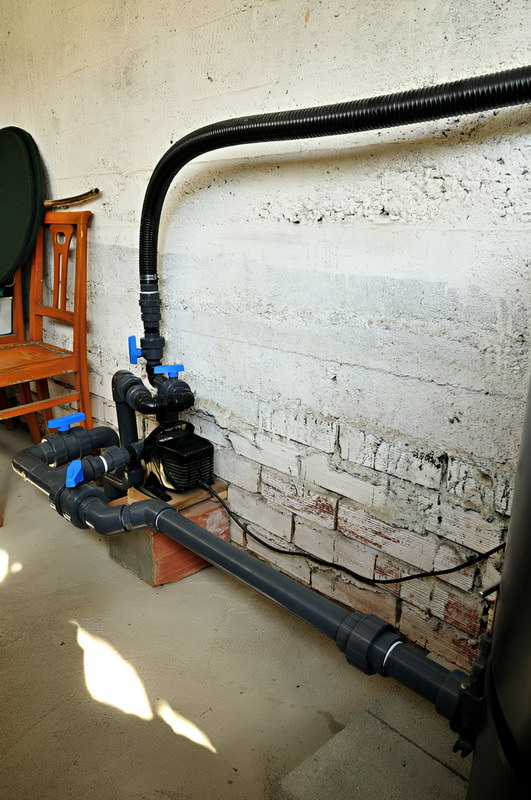
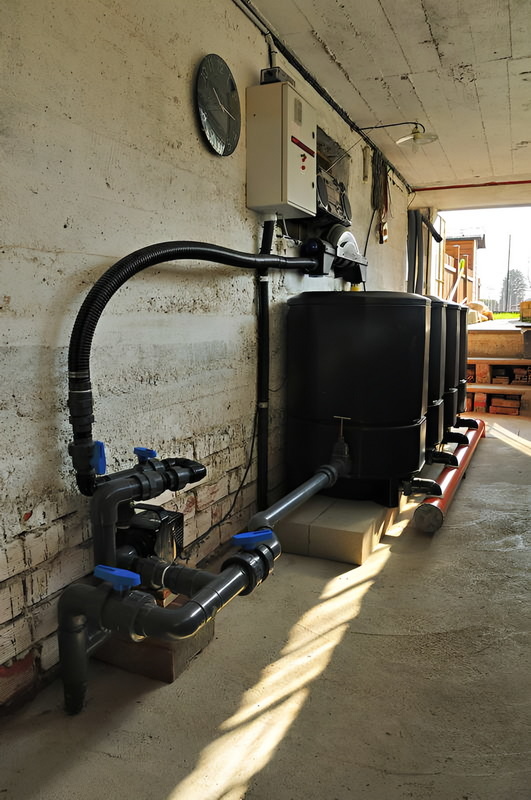
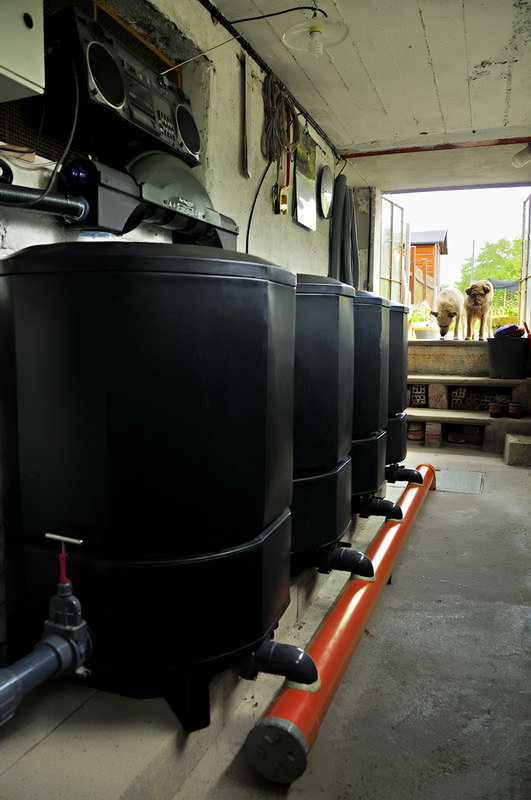
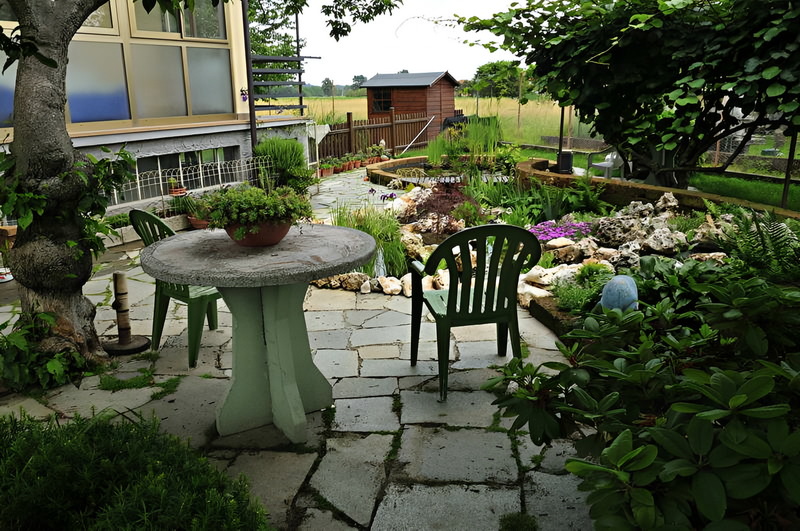
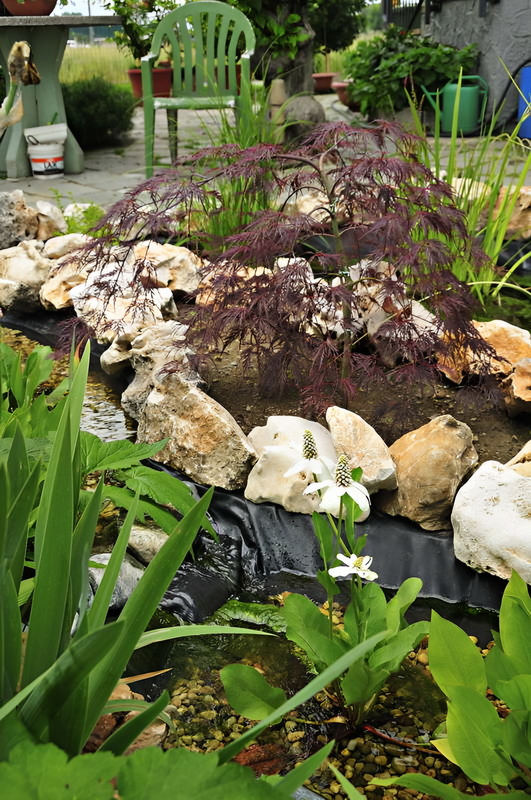
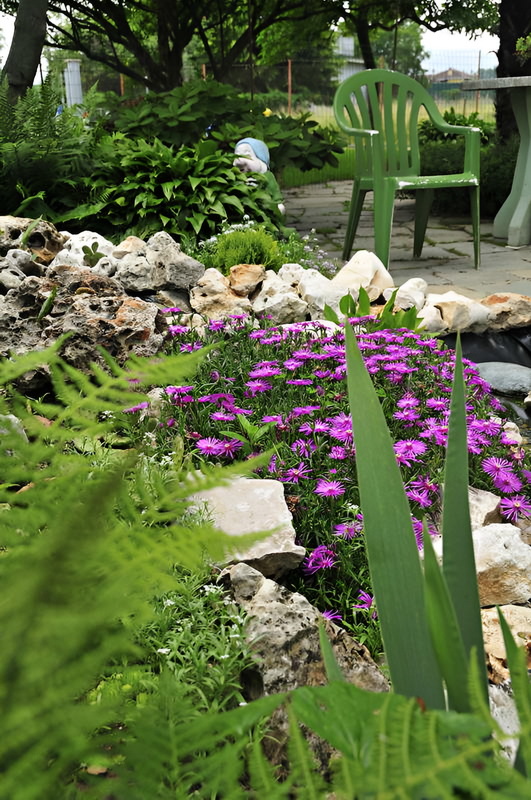
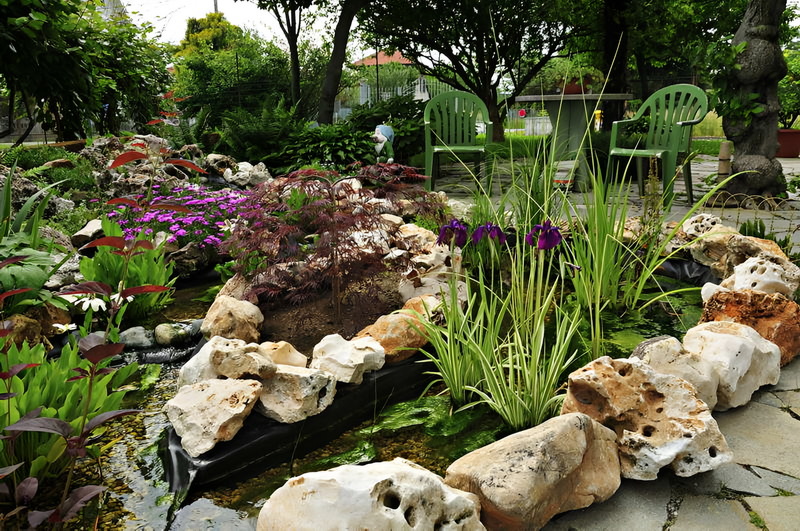
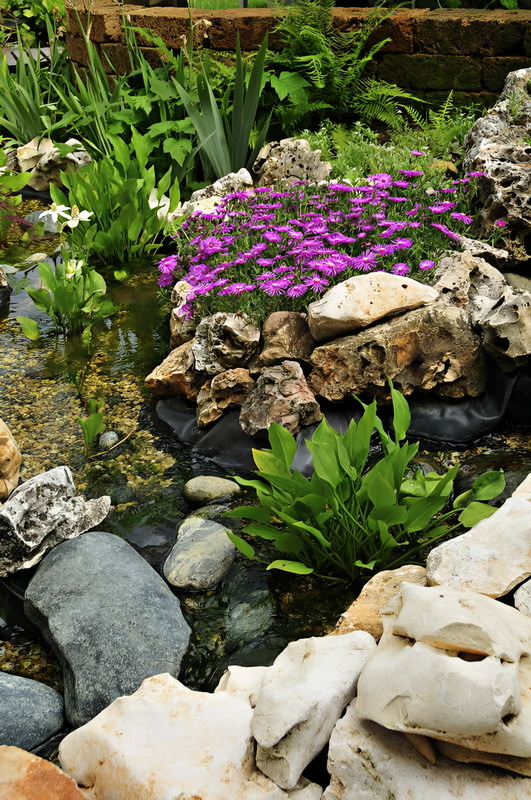
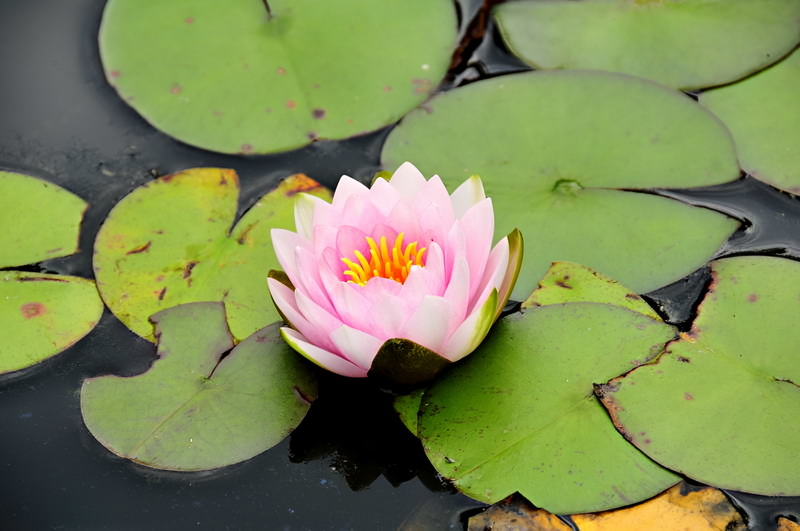
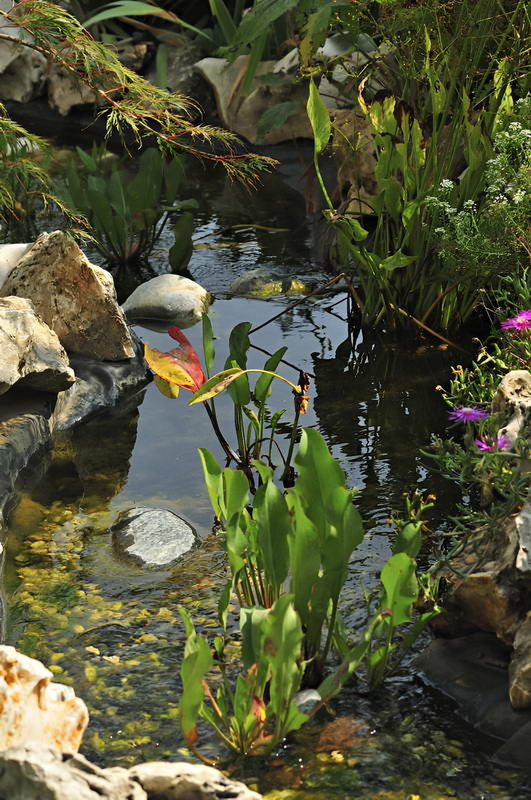
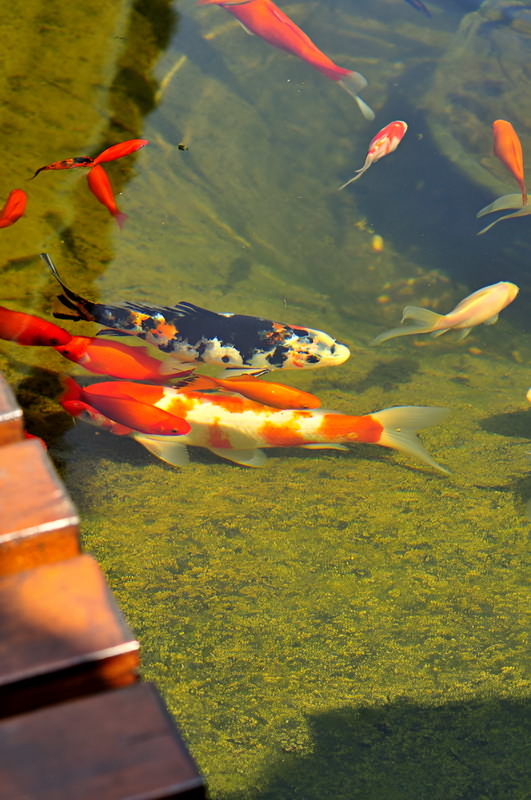
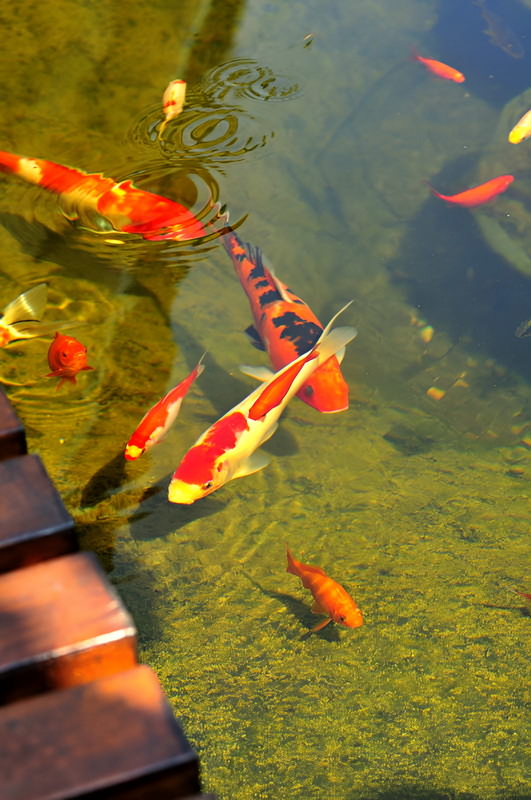
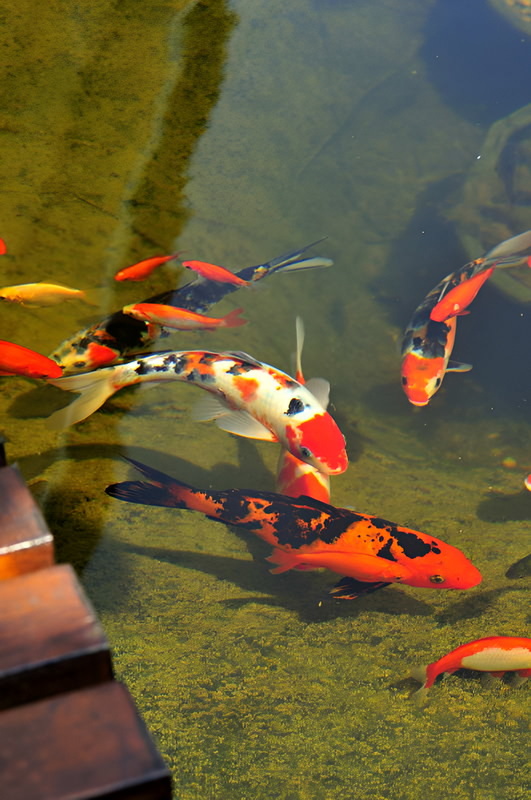
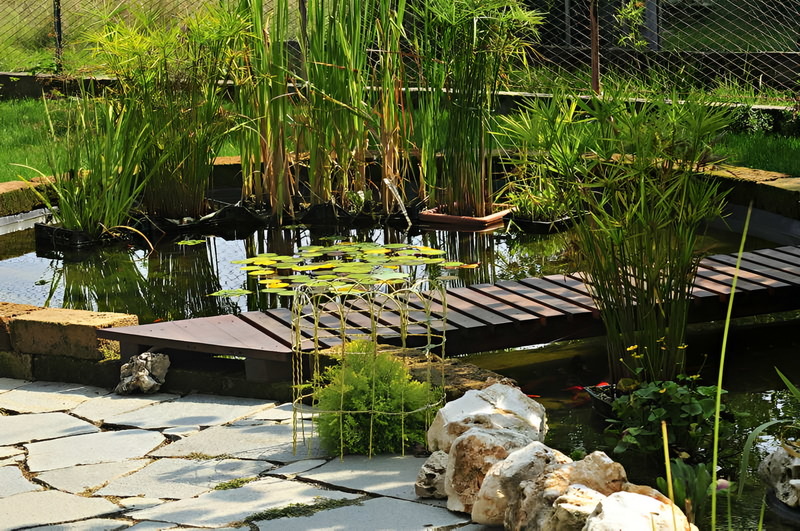
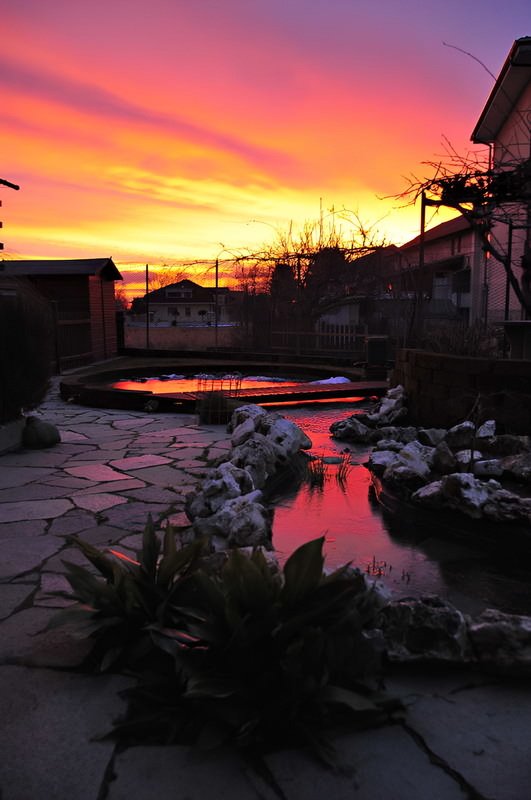
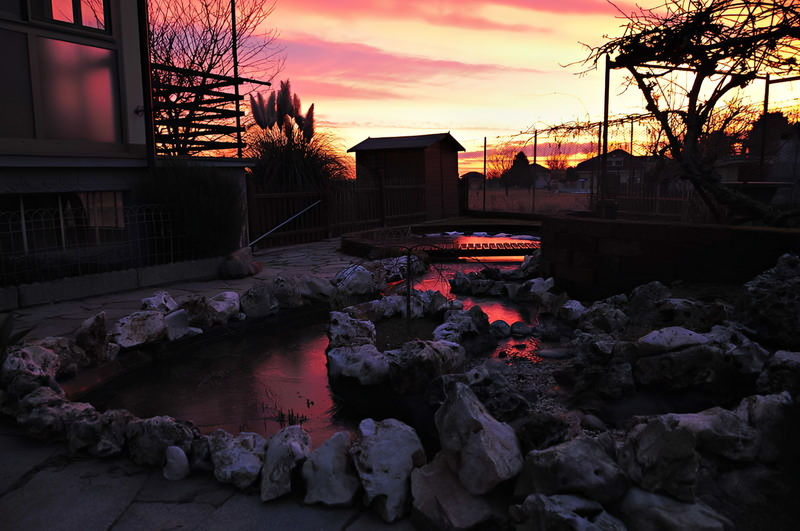
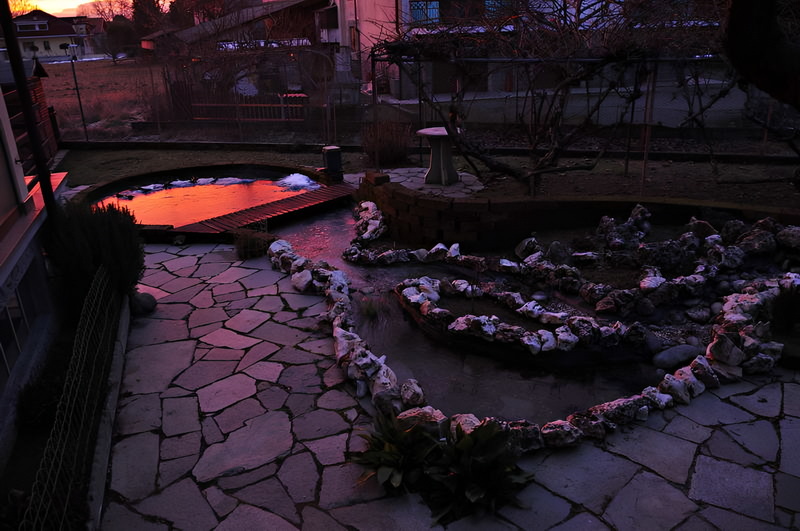
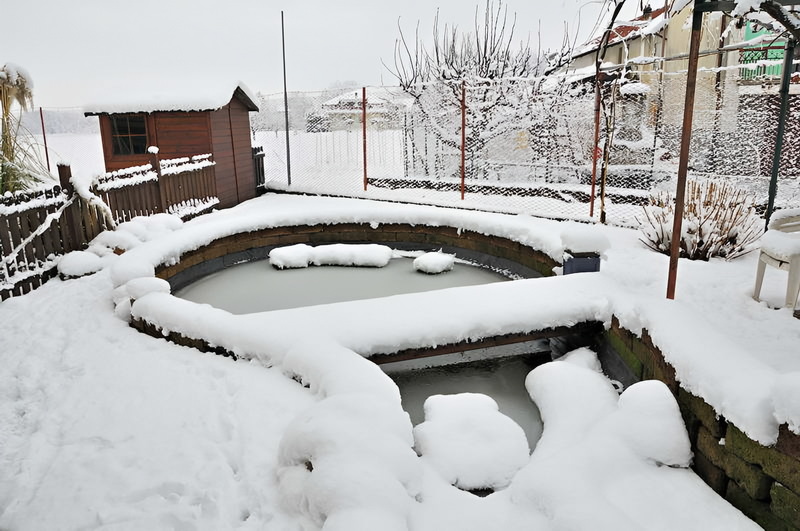
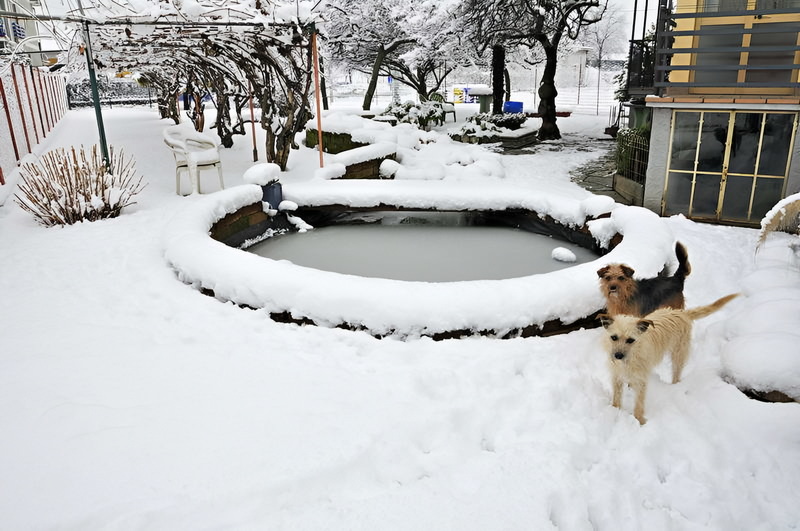
At the end of 2009, the lake comes into operation, following in the summers of 2010/2011/2012 make changes particularly with regard to the outer area of the lake, such as tiling with stone slabs s area around the pond, planting by rocky , change to tributary of the lake dividing the stream into two branches with a larger area in which to store various aquatic plants, improving the circulation of water adding an other spare pump connected to a network and instantly selectable via ball valves in event of a failure of the main pump as not to interrupt the action of the filter with the consequent death partial or total of the bacteria that are formed inside it, fundamental for biological equilibrium of the system, Thank you for visiting this page, many Greetings to All.
Italiano
Dopo avere avuto la passione dell' acquario d' acqua dolce prima, e Acquario di Barriera poi per moltissimi anni, nel 2006 causa anche problemi con l' incollatura della mia vasca da 500 litri, in pratica avrei dovuto sostituirla e visto che la passione per l' acquario Marino e non per ultimo anche l' impegno economico per mantenere questo tipo di acquario, hò preferito cessare questo peraltro interessantissimo hobby, dopo trè anni di pausa, nasce il desiderio di orientarmi al laghetto per le carpe Koi, lo spazio in giardino c' era e dopo aver studiato e valutato attentamente la situazione e alle spese da affrontare, dopo ore di navigazione in internet per approfondire l' argomento, parto con il progetto che prevede un ampio bacino di circa 6000 litri di capacità in più la costruzione di un giardino roccioso dove dal punto più elevato scenderà serpeggiando piccolo corso d' acqua che entrerà nella laghetto vero e proprio, mi avvio con la scelta del posto, la scelta della zona di disposizione degli accessori tecnici filtri, lampada UV, pompa di ricircolo, quadro elettrico, pompa dell' aria etc. ( l' area è sotto il primo balcone di casa posto a sud, chiuso da vetrate che in origine serviva da fioraia in inverno).
Nell' Autunno del 2008 mi avvio con lo scavo, dopo pausa invernale riprendo con nuova lena in primavera del 2009, questo è un lavoro abbastanza impegnativo, non avendo alcuna esperienza in merito, tuttavia faccio del mio meglio, i lavori procedono con lo scavo della buca ( con annesso mal di schiena ), ideando la forma della cascata e del giardino roccioso, con la posa dei tubi e all' interno del vano zona filtri con la sistemazione di tutte le parti tecniche, azionate da un quadro elettrico che mi permette di l' accensione della pompa di ricircolo, la regolazione in ore di accensione della lampada UV, un sistema di rabbocco automatico dell' acqua evaporata, un sistema automatico di di cambio parziale dell' acqua del laghetto con dosi regolabili a piacere, il tutto di mia inventiva e autocostruito.
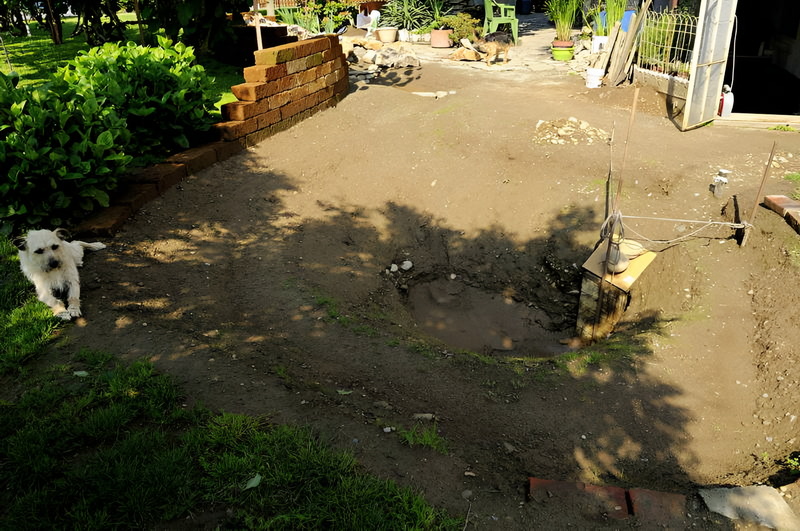
Concludo questa presentazione dicendo due cose sulle foto fatte, purtroppo hò perso una serie di foto fatte nel momento della stesura del telo in PVC e l' inserimento del dreno di fondo, causa mia sbadataggine nel formattare la scheda di memoria della macchina fotografica.
A fine 2009 il laghetto entra in funzione, in seguito nelle estati del 2010/2011/2012 faccio modifiche particolarmente per quanto riguarda l' area esterna del laghetto, come piastrellatura con lastre di pietra l' area intorno al laghetto, aggiunta di piante da roccioso, modifica all' immissario del laghetto dividendo il ruscello in due rami con una zona più ampia atta a contenere diverse piante acquatiche, miglioramento della circolazione dell' acqua aggiungendo un' altra pompa di scorta collegata in rete e selezionabile istantaneamente tramite valvole a sfera, nel caso di un guasto della pompa principale per non interrompere l' azione del filtro con la conseguente morte parziale o totale dei batteri che si formano al suo interno ultilissimi all' equilibrio biologico del sistema, Grazie per aver visitato questa pagina, tanti Saluti a Tutti.
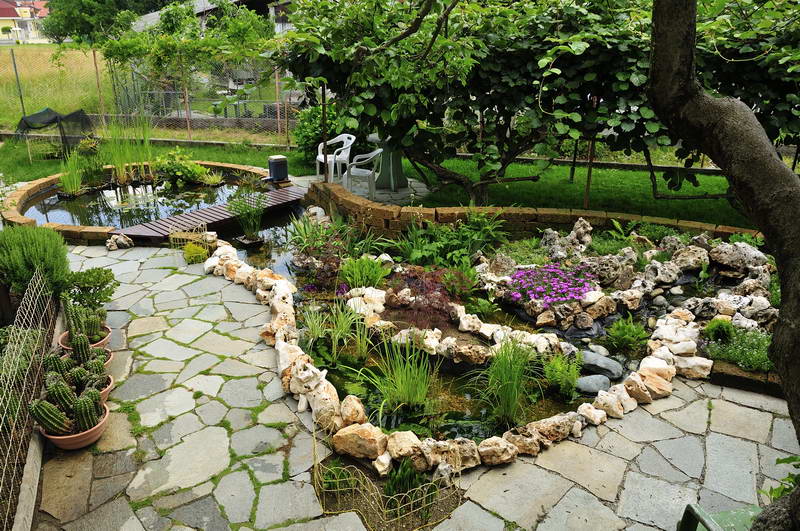
Foto Slideshow